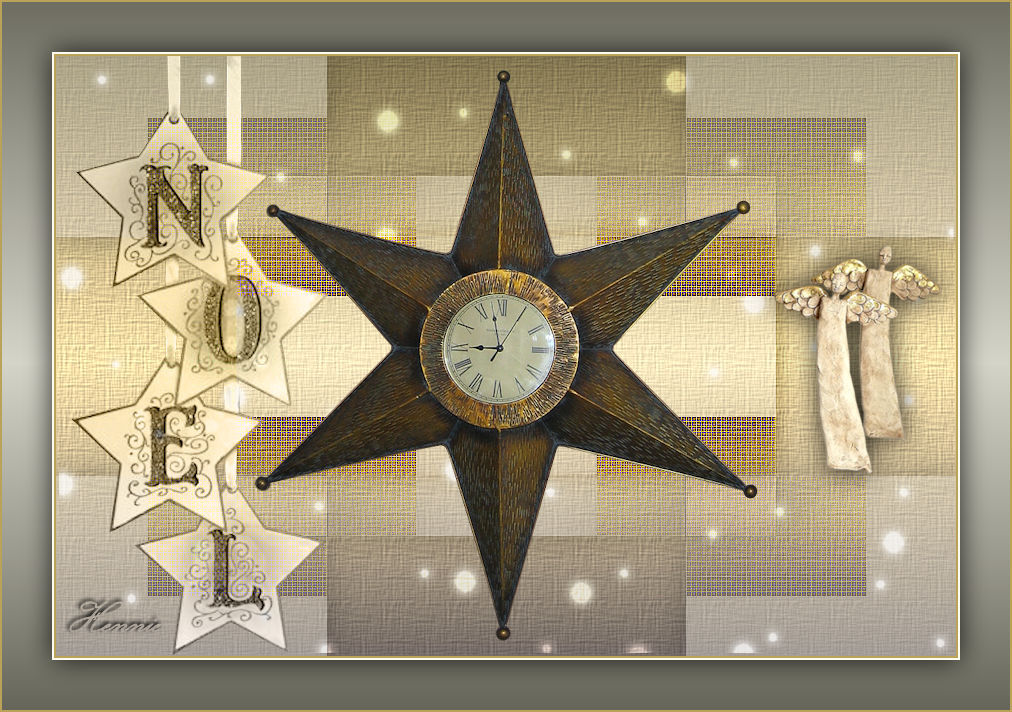
Christmas Lesson -3-2021.
Translation made by MARION


Supplies

Plugins
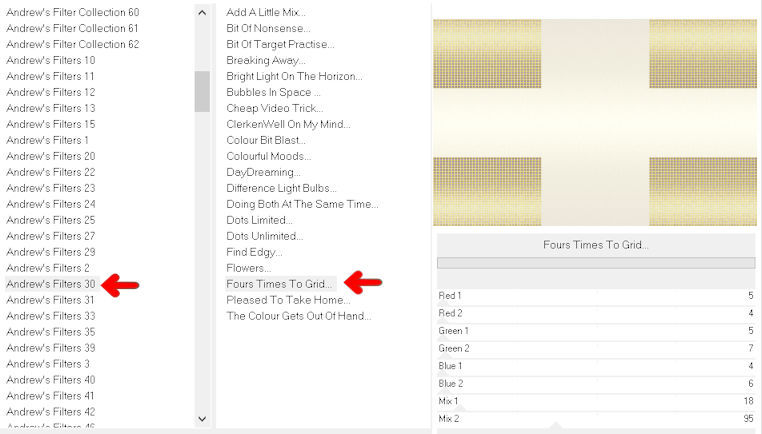
Effects---Plugins---<I C Net Software> Filters Unlimited 2.0---Andrews Filters 30------Fours Times To Grid
Material
- Preparation
-Material Properties: Set your Foreground color to color --- #baa258
Set your Background color to color #fcfbef
Colors for this lesson
Properties Foreground: -Prepare a Foreground Linear gradient and select Gold configured like this .
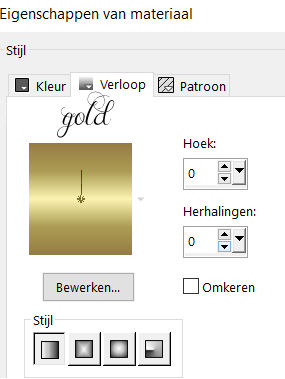
1.
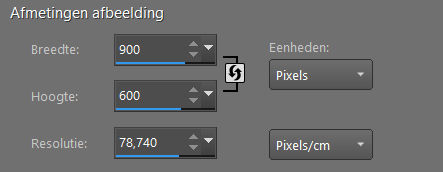
File-Open a New Transparent Image with these settings.
Width 900--- Height 600
2.
Flood Fill Tool-Fill the Layer with the Goldgradient
3.
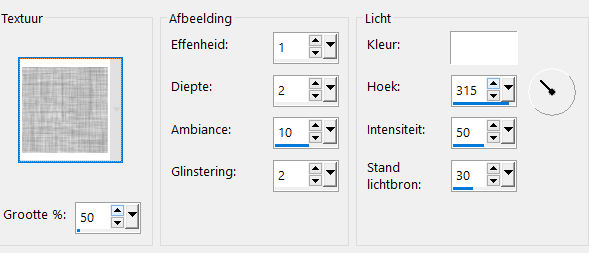
Effects---Texture-Effects---Texture---Arcering fijn
use the settings below
5.
Layers---Duplicate
6.
Image---Resize---60 %. Resize all layers not checked.

7.
Effects---Plugins---<I C Net Software> Filters Unlimited 2.0---Andrews Filters 30---
Fours Times To Grid---5---4---5---7---4---6---18----95.
8.
Effects- Image Effects- Seamless Tiling---Using the default settings.
Layers-Properties---Change the Opacity of this Layer to 35%
9.
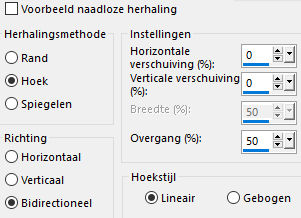
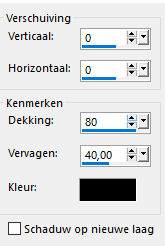
Effects---3D-Effects--- Drop Shadow with these settings: 0---0---80---40. Color Black
10.
Effects---Edge Effects---Enhance.
11.
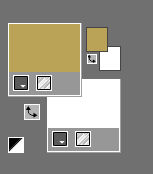
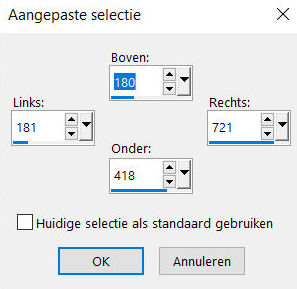
Activate Selection Tool -Custom Selection (S) -Rectangle with these settings:
Top 180---Left 181---Right 721---Bottom 418.

12.
Selections- Promote Selection to Layer
13.
Selections- Deselect All
14.
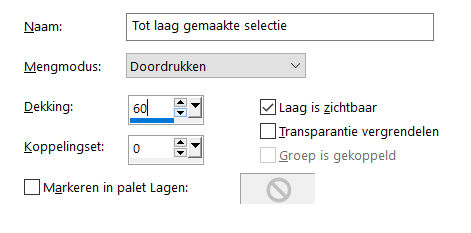
Layers-Properties-Set the Blend Mode to " Burn " ---and lower the Opacity to--60%.
15.
Effects---3D-Effects--- Drop Shadow with these settings: 0---0---80---40. Color Black
16.
Open the Tube --- deco-1-2021.png
Edit---Copy
Activate your work -Edit - Paste as a new Layer
17.
Layers-Properties-Set the Blend Mode to " Overlay " and lower the Opacity to 75%.

18.
Open the Tube ---Ster-mb.png
Edit---Copy
Activate your work -Edit - Paste as a new Layer
(do not move , it is in the right place)
19.
Open the Tube ---09 xmas cajoline_mix38_cu3.png
Edit---Copy
Activate your work -Edit - Paste as a new Layer
20.
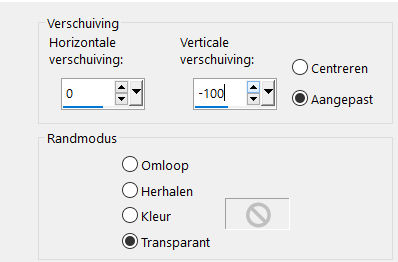
Effects---Image Effects----Offset with these settings:---0---min 100---Custom ---Transparent checked.
21.
Open the Tube ---136.png
Edit---Copy
Activate your work -Edit - Paste as a new Layer
22.
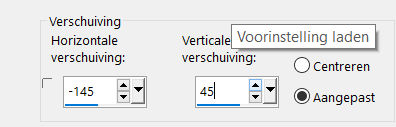
Effects---Image Effects----Offset with these settings:
---min 145 ---45---Custom ---Transparent checked
23.
Open the Tube --- vogeltje.png
Edit---Copy
Activate your work -Edit - Paste as a new Layer
24.
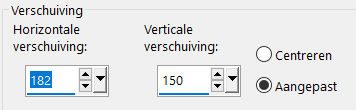
Effects---Image Effects----Offset with these settings:
---182 ---150---Custom ---Transparent checked.
25.
Open the Tube --- kransje.png
Edit---Copy
Activate your work -Edit - Paste as a new Layer
26.
Effects---Image Effects----Offset with these settings:---370 ---20---Custom ---Transparent checked.

27.
Image - Add borders-Symmetric checked:---2 pixels
with your dark color
Image - Add borders-Symmetric checked:---2 pixels with your light color
Selections---Select All
Image - Add borders-Symmetric checked:---50 pixels---(color doesn't matter)
Selections---Invert
Properties Foreground Change Foreground into Gold Gradient with the same settings
Flood Fill Tool-Fill the selection with the Gold gradient
Selections---Invert
Effects---3D-Effects--- Drop Shadow with these settings:
0---0---80---40. Color Black.
Selections---Deselect All
28.
Image - Add borders-Symmetric checked:---2 pixels with your dark color
Place your watermark on a new Layer.
Save as JPG
Voorbeelden zijn gemaakt door Kamalini-Hennie-Corrie---Marion


|